

Review a client's progress
Progress is where a client’s results come together: how their lifts are trending, where their weight is going, what their photos show, and what they tell you in their check-ins. This guide covers reading it and turning it into something you can share.
Before you begin
Section titled “Before you begin”- A client with some logged history — a few weeks of training, weigh-ins, or photos makes the trends worth reading.
1. See how training is trending
Section titled “1. See how training is trending”On the client’s Training tab, switch the multi-week view to the Progress lens for an exercise-by-week view of what they’ve actually lifted — the quickest read on whether the load is climbing where it should.
2. Track weight and measurements
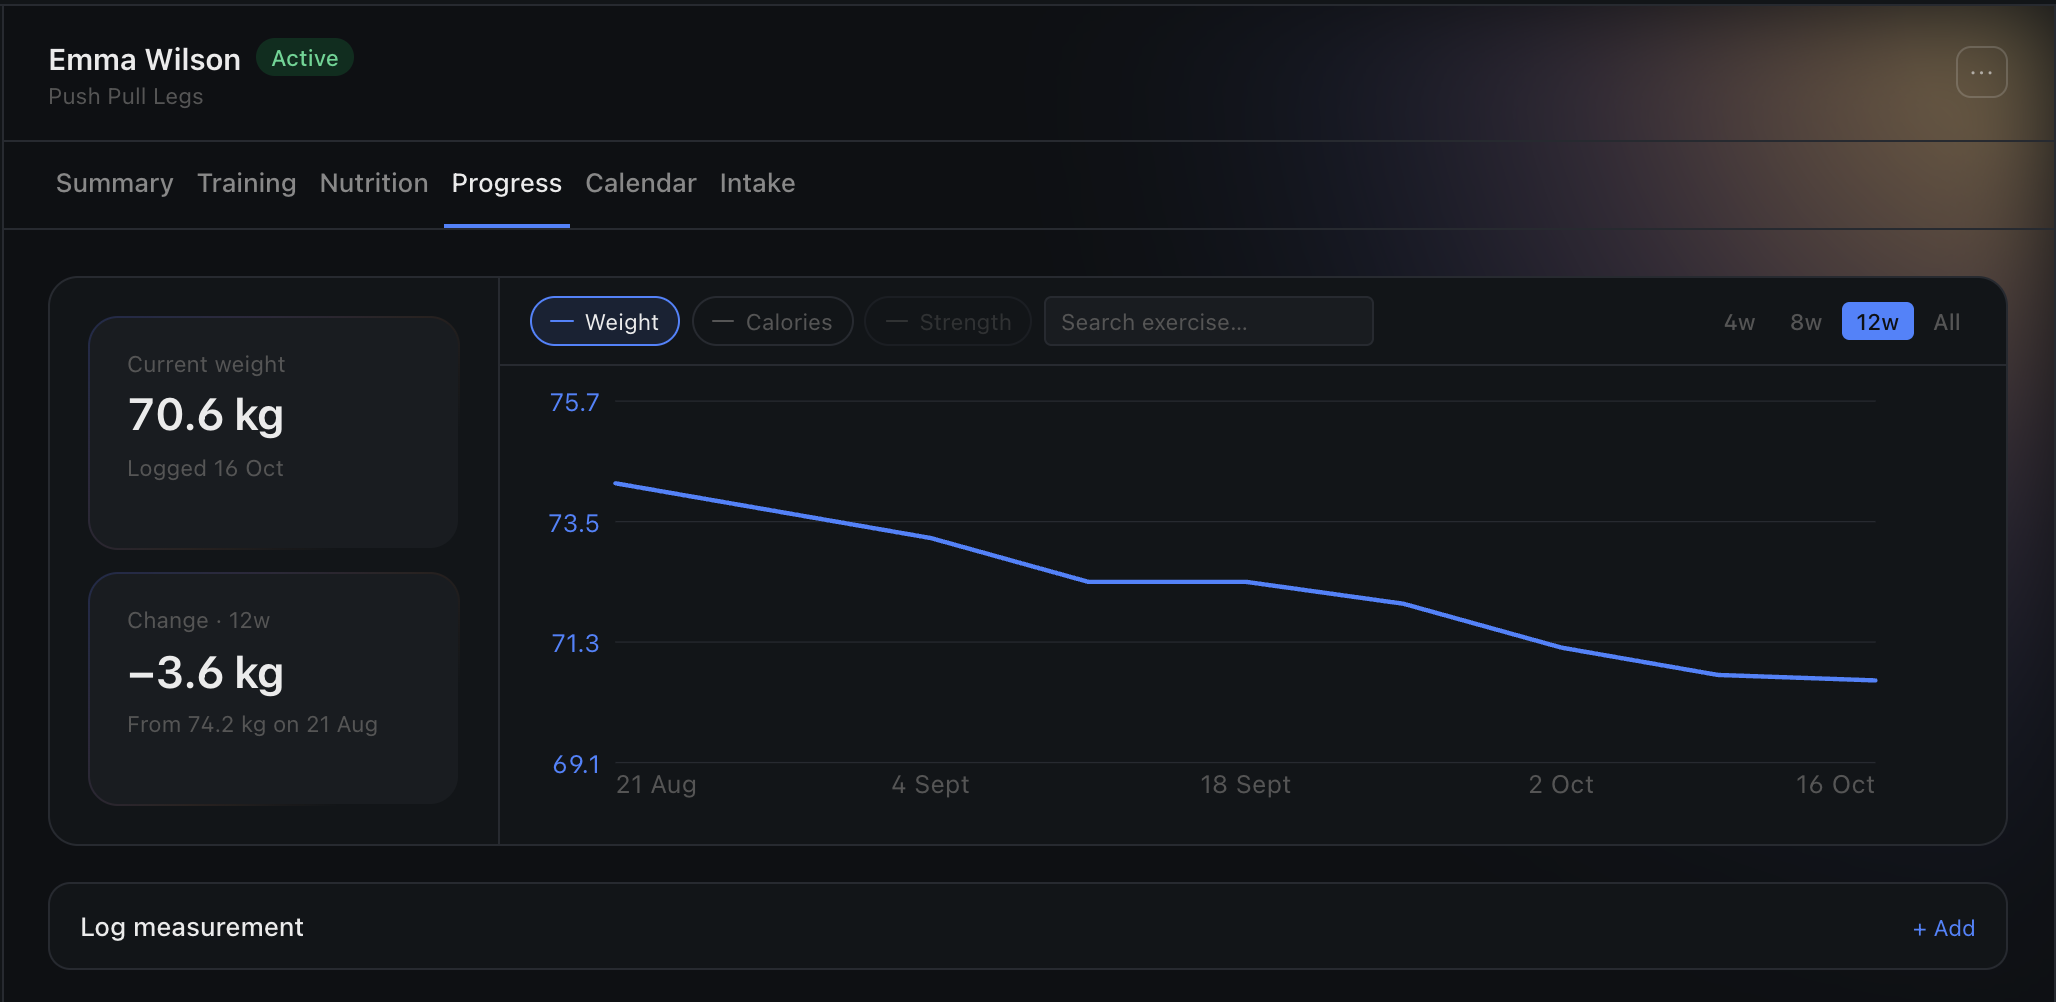
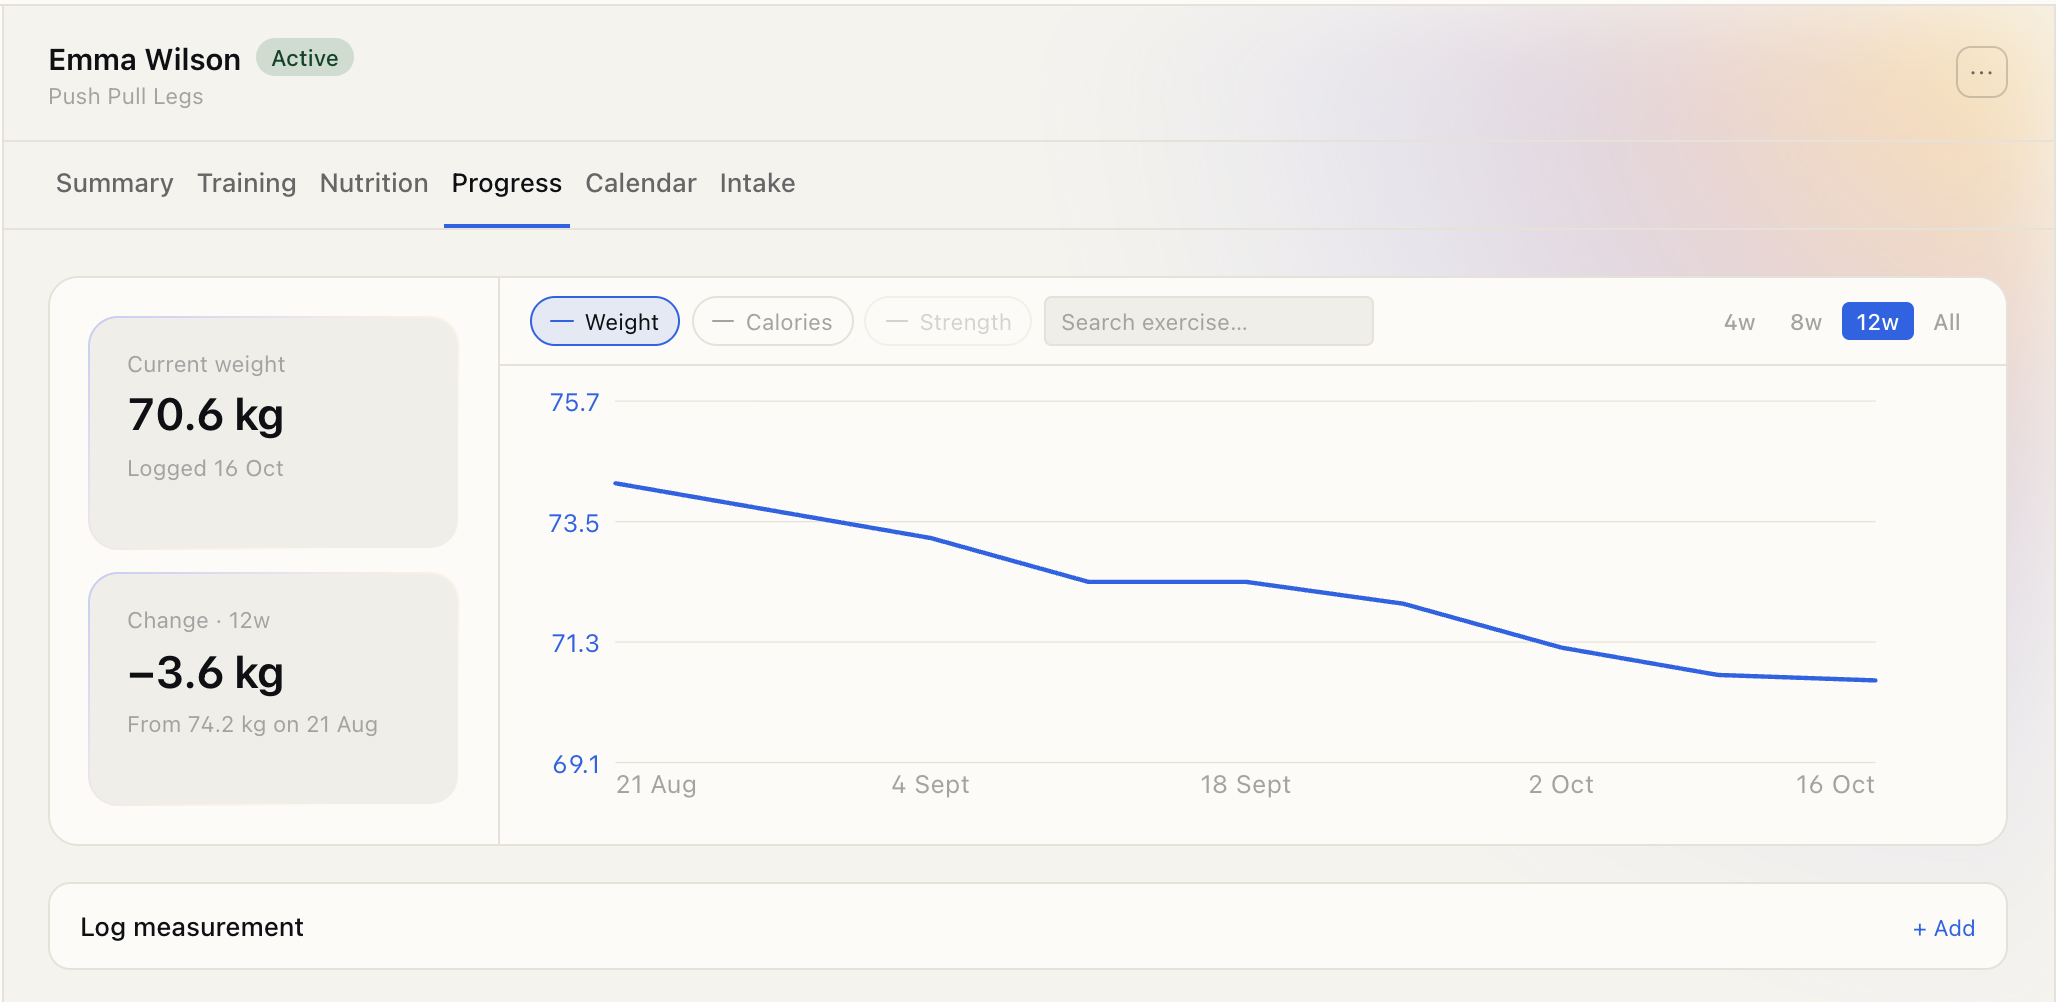
Section titled “2. Track weight and measurements”On the Progress tab, the top of the page shows current weight and the change over a range you choose (4w, 8w, 12w, or All), with a chart beneath; switch each series on or off above it. Use Log measurement to record a weigh-in yourself — date, weight, body fat, and optional waist, hip, chest, arm, and thigh measurements. The full history sits at the bottom.
3. Review progress photos
Section titled “3. Review progress photos”Your client uploads photos from their app; you review them in the Progress photos grid. Photos they send with a check-in land here too. Ask for photos messages the client asking for a fresh set. When two or more photos exist, Compare opens them side by side.
4. Make a shareable progress card
Section titled “4. Make a shareable progress card”In the compare view, pick a before and after photo (turn on Same angle only to keep the comparison honest). Under Generate progress card, turn on Anonymise to show only a first name and add an optional Strength headline like “Bench +12.5 kg”, then choose Generate card. It downloads an image with both photos and the weight change built in.
5. Read their check-ins and intake
Section titled “5. Read their check-ins and intake”When a client submits a check-in, it’s listed under To review at the top of Check-ins in the top bar, and your Today list shows Check-ins to review. Choose View on one to read the answers right there, then Mark reviewed to take it off both lists, or Open client to go to their Summary tab, where opening it marks it reviewed. Viewing it in the list marks nothing. While one is open, the Messages panel beside the list shows that client’s thread, so you can reply without leaving Check-ins; replying doesn’t mark it reviewed either. Newer ones not yet opened are marked New on the Summary tab.
All a client’s submitted check-ins are on their Summary tab — choose View on one to read their answers. Photos sent with a check-in show as thumbnails in it; select one to see it full size. If the client has since deleted a photo, it reads Photo removed. What they told you when they joined is on their Intake tab. Until they submit, that tab also shows which intake form they will answer, and lets you switch them to another; once they have submitted, their answers stay exactly as they gave them.
6. Close a goal
Section titled “6. Close a goal”A client’s goal sits on their Summary tab. When every target is met, or its date has passed, the goal card asks you to review it and your Today list shows Goals to review. Choose Achieved or Missed on the card. You can close a goal at any other time from the card’s ⋯: Close as achieved or Close as missed.
Closed one by mistake? The message that confirms it carries Undo for ten seconds, which reopens the goal as it was. A goal can be reopened only within ten minutes of closing it, and only while you haven’t set a new goal in its place.
7. Set up your check-in
Section titled “7. Set up your check-in”Open Check-ins in the top bar to decide what clients are asked. Choose New template, name it, and Add question for each thing you want to know — each question takes a written answer, a 1–10 rating, a yes or no, or a number, and can be Required. The template marked Default is the one your clients fill in; Set as default switches to another, and Preview shows a template the way a client sees it.
Progress photos has its own panel at the top of the template. Choose Off, Optional or Required: optional lets a client send any of the photos, required needs one for every pose. Your client takes them in the Stem app when they fill in the check-in, and the photos question takes its place in the template’s order like any other question, so you can drag it where you want it.
The poses start as front, side and back. Rename one, drag it into a new order, remove it with ×, or choose Add pose for up to 12 — your client gets a photo slot for each, named as you named it, and you see each photo labelled with its pose when you review the check-in. In the coach app, the same panel is at the top of the check-in template; tap Poses to edit them. Your clients need the latest version of the app to answer a photos question, and it can’t be answered from the web.
A client who shouldn’t fill in check-ins at all can have none. On their Summary tab, choose Edit on the Check-ins card, then No check-ins. Their app loses its Check In tab, they get no check-in reminders, and they’re never flagged as overdue. The check-ins you had set are kept: Turn on brings them back as they were. In the Stem coach app, the same switch is at the top of a client’s check-ins.
8. Export a client’s data for an AI tool
Section titled “8. Export a client’s data for an AI tool”Open the ⋯ at the top of a client’s page (or right-click them in your client list) and choose Export for AI… to turn their data into text you can paste into an AI tool with a question like “what patterns do you see?” or “what would you change?”. Pick a period (the last 8 weeks to start with) and what to include: profile and intake, training, nutrition, body measurements and check-ins all start ticked, so untick what you don’t need. Then choose Copy, or Download .md to keep a file.
Their name is left out unless you tick Include their name — an AI tool doesn’t need it to help.
What you’ll be able to do
Section titled “What you’ll be able to do”- Read a client’s training trend across their program
- Track weight and body measurements over time
- Compare progress photos and export a shareable card
- Review submitted check-ins and intake answers
- Close a goal as achieved or missed, and undo a mistaken close
- Build the check-in your clients fill in
- Export a client’s data to ask an AI tool about it